
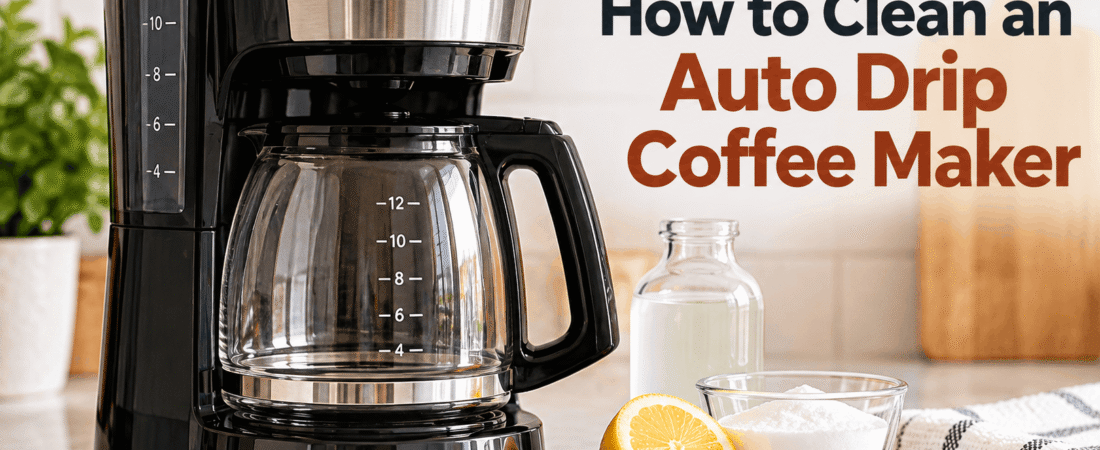
Fresher flavor, fewer clogs, and a machine that sticks around for years.
Think about the last time you gave your coffee maker real attention. For most people, upkeep means rinsing the pot and tossing the used filter. Meanwhile, the parts you cannot see are slowly collecting chalky minerals, a sticky layer of stale coffee oil, and moisture that never quite dries out.
The fix is easier than you might expect. A proper cleaning takes roughly an hour, nearly all of it spent waiting around, and the supplies are probably sitting in your pantry right now. Below you will find how a drip machine actually works, how often it needs attention, a full walkthrough, and answers to the questions people ask most.
The short version
- Pour a vinegar and water mix into the tank, about one part vinegar to one part water.
- Set a paper filter in the basket and start brewing.
- Stop the cycle partway through, power the machine down, and let the solution sit for 30 to 60 minutes.
- Restart the machine, let it finish, and pour out the liquid.
- Brew two or three tanks of fresh water to flush away the smell and taste.
- Scrub the pot, lid, and basket by hand, then let everything dry.
☕ How Does an Auto Drip Coffee Maker Work?
Before you pick up a sponge, it helps to picture what goes on behind that plastic shell. A drip machine is a surprisingly simple appliance, and once you know the route the water travels, it becomes clear why some parts demand more attention than others.
Following the water from tank to cup
- The tank. Cold water waits in the reservoir until you press the start button.
- The valve. A small one way valve lets the water drain out while keeping it from creeping back into the tank.
- The heater. The water enters a narrow metal tube that rests against a heating element, usually hidden beneath the warming plate, and quickly climbs toward boiling.
- The lift. As the water heats, bubbles form and shove the hot water up a second tube. It is a clever, motor free way to move liquid uphill.
- The shower. At the top, the water pours through a spray head and drizzles across the grounds.
- The filter. The water soaks the coffee, picks up flavor and oils, then drains through the filter and down into the pot.
- The warming plate. That same heater keeps the pot hot afterward. Leave coffee sitting there too long and it starts to taste scorched.
The main parts and why they matter
| Part | Its job | The cleaning headache |
|---|---|---|
| Water tank | Stores water for the brew | Stays damp, which invites musty smells and mold |
| One way valve | Keeps water flowing in a single direction | Mineral crust can make it stick, slowing or stopping the brew |
| Heating element and tube | Heats the water and pushes it upward | The spot where scale piles up fastest |
| Spray head | Spreads hot water over the grounds | Tiny openings clog with scale and coffee residue |
| Basket and filter | Holds the grounds while water passes through | Gets coated in oils that turn bitter over time |
| Pot and warming plate | Catches the coffee and keeps it hot | Prone to staining, baked on spills, and leftover film |
Here is why this matters: every bit of water in your machine squeezes through that narrow heating tube. Hard water leaves a thin trace of minerals behind with each pass, the same way a kettle ends up with a pale crust inside. Given enough weeks, that crust narrows the tube, cools the water, and drags the whole process down. Descaling clears it out.
For the best flavor, brewing water should land somewhere between roughly 195 and 205 degrees Fahrenheit. A clean machine can get there. One choked with scale often falls short, which is a big reason coffee from a neglected maker tastes thin or sour even when the beans are fresh.
🔍 What Actually Builds Up Inside Your Machine
A coffee maker is warm, damp, and dark most of the day, which makes it a comfortable home for residue and microbes. Four things tend to pile up:
- Mineral scale. Tap water carries calcium and magnesium. Each heating cycle leaves a trace behind on the element and inside the tubing. Over time this slows the brew, lowers the temperature, and can wear out the machine early.
- Old coffee oils. Brewing releases natural oils that cling to the basket, pot, and spray head. After a few weeks they go rancid and flavor every cup with a flat, bitter edge.
- Trapped moisture. Water that sits in a warm tank can grow mold and bacteria. A little routine care keeps that in check.
- Weak, lukewarm results. When scale gets thick enough, the machine cannot heat properly, so your coffee comes out tepid and underwhelming.
You can buy the fanciest beans on the shelf, and a grimy machine will still make them taste ordinary. Regular cleaning is about the cheapest flavor upgrade you will ever find.
📅 How Often Should You Clean It?
The right rhythm depends on how often you brew and how mineral heavy your water is. Treat this as a starting point and adjust to fit your kitchen:
| Task | When | Time |
|---|---|---|
| Rinse the pot and basket in hot water with a little dish soap | After each use | 2 minutes |
| Prop the tank lid open so the inside can dry | Every day | 10 seconds |
| Wipe the outside, the lid, and the warming plate | Once a week | 5 minutes |
| Descale with vinegar or a descaling product | Monthly with hard water, every two to three months with soft or filtered water | About an hour, mostly waiting |
| Swap the built in water filter, if there is one | About every two months, or as the manual says | 2 minutes |
Clues that it is overdue
- Your coffee tastes sour, bitter, or flat for no clear reason
- The brew takes longer than it used to
- The machine sputters, gurgles, or sounds louder than normal
- You spot pale, chalky flecks in the tank or the pot
- The finished coffee is barely warm
- A stale or musty smell drifts out of the machine
🧰 Gather Your Supplies
Nothing exotic is required. Collect these before you begin:
- Distilled white vinegar, or a descaling product made for coffee makers
- Plain water
- A few paper filters in your usual size
- Dish soap and a soft sponge or bottle brush
- A microfiber cloth
- An old toothbrush or some cotton swabs for tight corners
- A toothpick for clearing small openings
🧪 Picking a Descaling Solution
There are three common ways to dissolve scale in a drip machine. Each one works, so choose whichever suits your situation.
Distilled white vinegar
The old standby. It costs next to nothing and handles most buildup. The only drawback is the sharp smell, which fades after a few flushes. Mix it with water in roughly equal amounts.
Citric acid
A milder option with almost no odor, sold as a powder. Dissolve it in warm water using the directions on the package. A smart choice if vinegar bothers your nose.
Store bought descaler
Formulated for coffee makers, and often the one manufacturers recommend. It runs pricier, but it is the safest route if your machine is still covered by a warranty.
Before you start, flip through your user manual. Some brands name a specific descaler, and a few warn against vinegar. If the booklet is long gone, searching your model number usually turns up a free PDF.
🧼 Step by Step: Descaling and Deep Cleaning Your Drip Machine
Unplug and empty everything
Disconnect the power, throw away old grounds and the used filter, and lift out the pot, basket, and lid. If you use a reusable mesh filter, take that out too. If your machine has a built in water filter cartridge, remove it before descaling.
Mix the cleaning solution
Fill the tank with vinegar and water in about equal parts. For a 12 cup machine, that works out to roughly six cups of each. Badly scaled machines can handle a stronger blend, around two parts vinegar to one part water, but save that for stubborn cases.
Start brewing
Place a fresh paper filter in the basket, which will catch any bits of scale that break loose, then set the empty pot in position and begin a normal brew.
Pause and let it soak
Once about half the liquid has dripped into the pot, switch the machine off and walk away for 30 to 60 minutes. This waiting period gives the acid time to eat through the crust coating the heating tube, which is where most of the scale hides.
Finish and discard
Turn the machine back on and let the cycle run to the end. Then pour the vinegar out of the pot and throw away the used filter.
Flush with clean water
Fill the tank with plain water and let it brew through, then empty the pot and do it again. Keep going until the vinegar smell is gone. Two rounds is usually enough, though a third is cheap insurance.
Scrub the loose parts
Give the pot, lid, and basket a good scrub in hot, sudsy water. Many are safe on the top rack of a dishwasher, but confirm in the manual first. Rinse thoroughly and let everything air dry before reassembling.
Wipe the outside
Run a damp microfiber cloth over the exterior, the tank lid, and the warming plate once it has fully cooled. Use a toothbrush or cotton swab around the spray head and any nooks where coffee splatters collect.
👀 The Spots Everyone Skips
The pot
For a brown film that soap will not budge, fill a glass pot with hot water, drop in a denture cleaning tablet, and leave it for an hour or two before rinsing. A soft bottle brush takes care of whatever is left. Avoid steel wool, which leaves scratches that trap even more residue.
The basket and spray head
Oils collect here faster than anywhere else. Pull out the basket and scrub it with a bottle brush. Then look closely at the spray head, the part that showers water over the grounds, and use a toothpick to poke out any clogged holes.
The warming plate
Spilled coffee bakes onto the plate and creates that scorched smell. Once it is completely cool, lay a cloth soaked in warm water over the crusted spot for several minutes to soften it, then wipe it away.
The water tank
If the tank lifts out, wash it by hand. If it is built in, wipe the inside with a soft cloth dampened with a little of your vinegar mix. After every brew, leave the lid open so the interior can dry out.
🚫 Mistakes That Undo Your Hard Work
- Skipping the flush. Vinegar left in the lines will make your next pot taste sour.
- Reaching for harsh scrubbers. Rough pads scratch glass and plastic, and scratches hold onto grime.
- Working on a hot machine. Let the machine and plate cool off before you wipe or wash anything.
- Letting wet grounds sit. Used grounds can start growing mold within a day or two, so empty the basket after each brew.
- Ignoring the manual. A few minutes of reading can protect your warranty.
- Dunking the base. Never submerge the electrical base. A damp cloth is all it needs.
🛠️ Still Not Right? Troubleshooting
| Symptom | Probable cause | What to do |
|---|---|---|
| Coffee tastes like vinegar | Not enough flushing | Brew two more tanks of plain water |
| Slow brewing or weak flavor | Scale in the tubing or heating element | Descale again, this time with a longer soak |
| Water leaks around the basket | Clogged spray head or a basket that is not seated properly | Clear the spray head holes and reseat the basket |
| Musty smell | Damp tank or leftover grounds | Do a deep clean, then keep the lid open between uses |
| White specks in the cup | Scale flaking loose after descaling | Run more flush cycles with a paper filter in place |
| Machine will not brew | A heavy scale blockage | Try a longer soak with a stronger mix. If that fails, check the manual or contact the maker |
✅ Habits That Keep It Cleaner for Longer
- Brew with filtered or bottled water. Softer water leaves far less scale behind.
- Empty the pot and basket right after brewing instead of waiting until tomorrow.
- Keep the lid open and let the tank dry between uses.
- Set a recurring phone reminder for descaling. It is easy to forget until the coffee turns off.
- Park the machine away from the stove and sink, where grease and splashes can reach it.
❓ Frequently Asked Questions
Is vinegar safe to use in every drip coffee maker?
Most machines handle it without trouble, but a few brands recommend their own descaler or caution against vinegar. Look at your manual before you begin, particularly if the machine is still under warranty.
How long should the vinegar soak?
Thirty minutes to an hour covers routine upkeep. If the machine is badly scaled, you can stretch the soak to two hours.
How do I get rid of the vinegar smell?
Brew two or three tanks of fresh water, and keep going if you can still smell it. Washing the pot and basket by hand helps too.
Can I drink coffee right after cleaning with vinegar?
Yes, as long as you flush the machine well. Vinegar is food safe, and the water cycles wash it out before your next pot.
Will baking soda descale my machine?
Not really. Baking soda is good for neutralizing odors, but it does not dissolve mineral scale. Stick with vinegar, citric acid, or a dedicated descaler for that job.
How can I tell if my water is hard?
White, chalky crust on faucets, kettles, or glasses is a good sign. For a clearer answer, pick up an inexpensive test strip kit or ask your local water utility for a report.
Do I need to clean a machine I hardly ever use?
Yes. Water that sits for weeks can grow bacteria and mold. If the machine has been idle, run a vinegar cycle followed by a few flushes before brewing a real pot.
🏁 Final Thoughts
A clean coffee maker is a small habit that pays you back every morning. The coffee tastes better, the machine lasts longer, and you never have to wonder what is lurking in the tank. Set a monthly reminder, keep the pot rinsed, and you are covered.
And if your current machine has seen better days, it may be time for a fresh start. A good drip coffee maker, kept clean, can easily last for years.
Ready for a fresh start with a coffee maker you will love?
Our Top 10 List of Best Auto Drip Coffee Makers